How to Run Ruby

There are two common ways to run Ruby:
- Run Online
- Run on Your Computer
Run Ruby Online
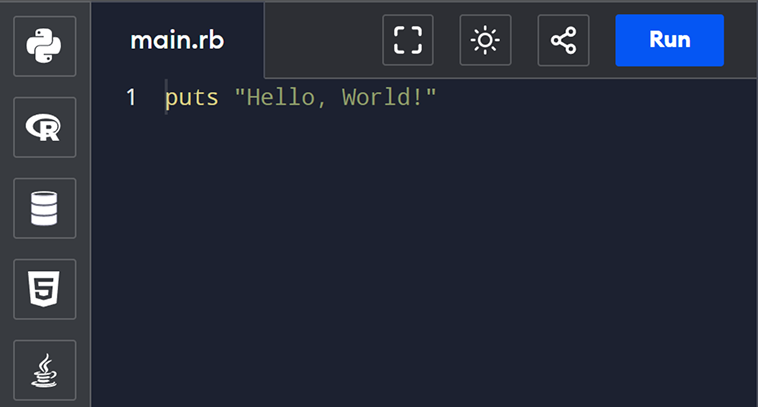
If you don’t want to install anything, you can run the code directly in your browser using an online interpreter.
We’ve built a fast, beginner-friendly online Ruby interpreter that lets you write, run, and test code instantly — no setup is needed.
If you're a beginner, we recommend using this learning approach.
Run Ruby on Your Computer
If you prefer to run Ruby locally on your computer, this guide will walk you through the steps for setting it up on Windows, macOS, or Linux (Ubuntu).
Install Ruby on Windows
To run Ruby locally on your Windows computer, follow these steps:
- Install Visual Studio Code
- Download and Install
- Verify Your Installation
Step 1: Install Visual Studio Code
First, you’ll need a code editor. We recommend Visual Studio Code (VS Code) because it's lightweight, powerful, and beginner-friendly.
- Visit the VS Code official website.
- Download the Windows installer.
- Once the download finishes, run the installer.
- Follow the setup instructions.
- Click Finish once the installation is complete.
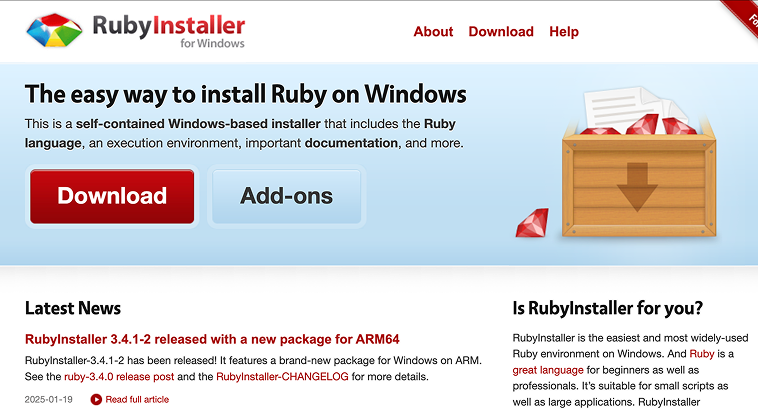
Step 2: Download and Install Ruby
To run your code, you need to install the Ruby interpreter on your computer. Go to rubyinstaller.org and download the latest stable version of Ruby (with DevKit).
Open the .exe installer you downloaded and follow the instructions. During installation, make sure to check the box that says "Add Ruby executables to your PATH".
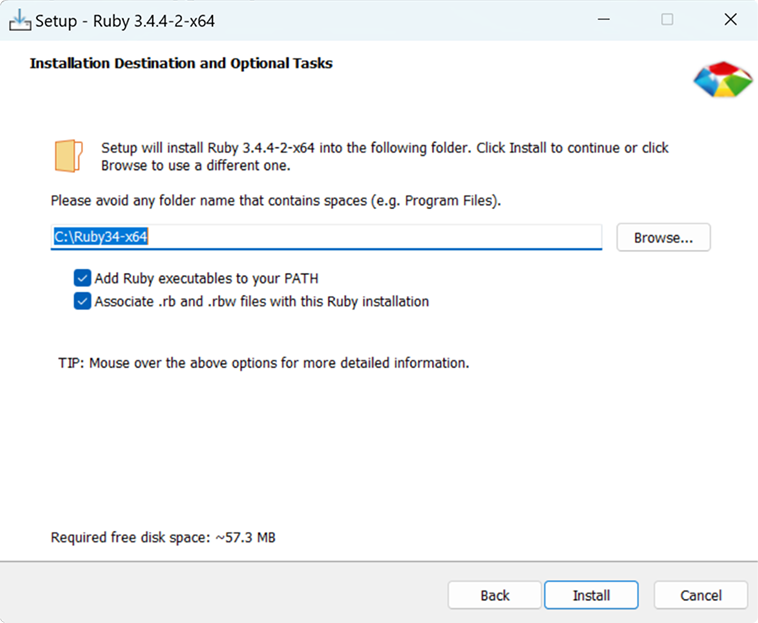
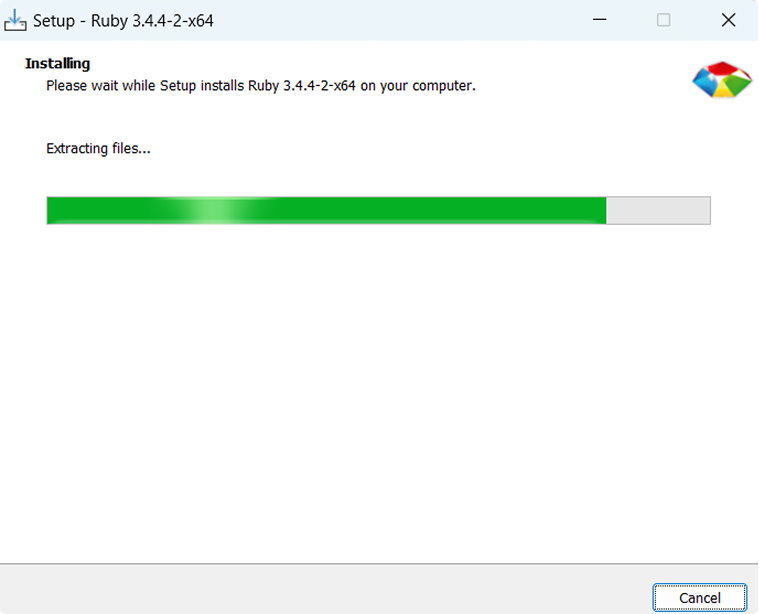
The installation will begin, and you'll see a screen like this:
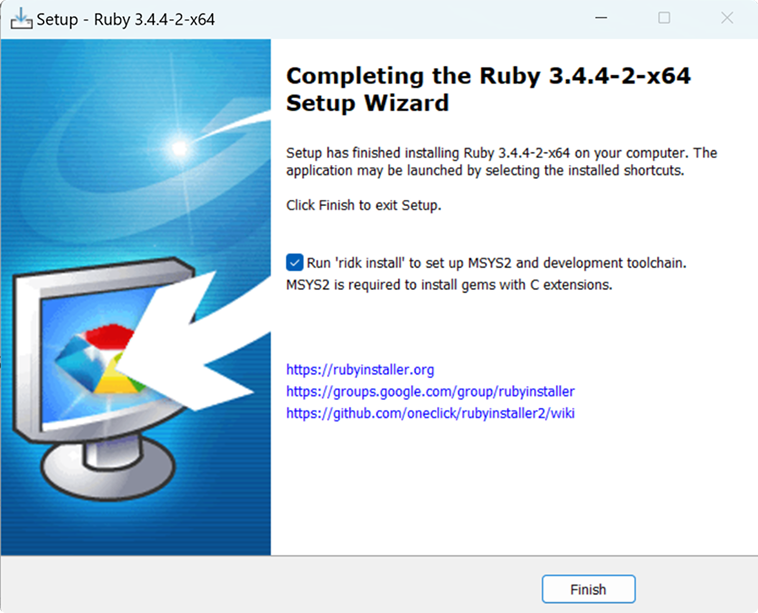
Once the installation is complete, you'll see a screen like this:
Click the Finish button to proceed to the final screen, as shown below:
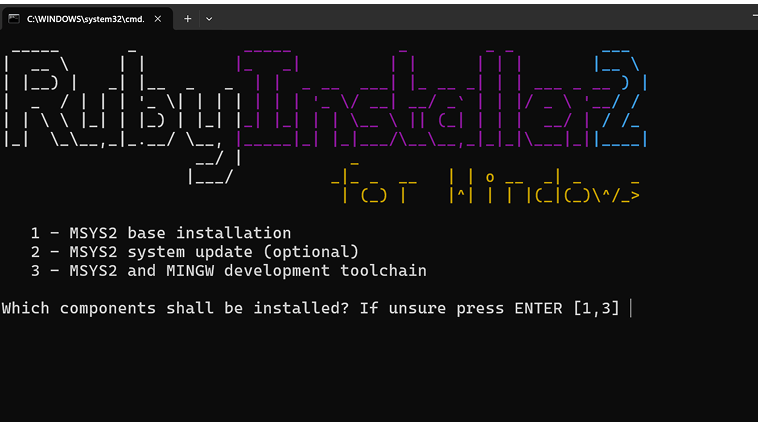
Click the Enter button and proceed to the next step.
Step 3: Verify Your Installation
After installation, you need to verify that Ruby is set up correctly. Open the command prompt and type the following command:
ruby -vIf everything is installed properly, you'll see something like this:
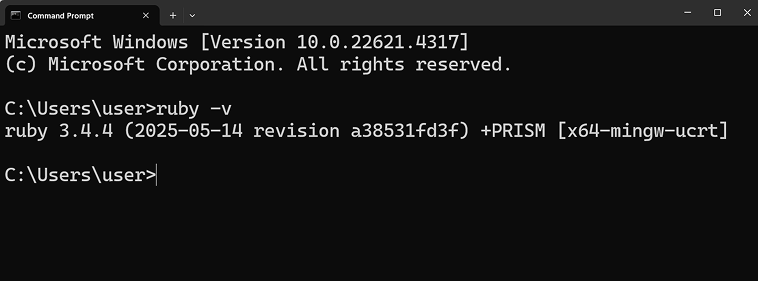
This confirms that Ruby is installed and working on your system.
Install Ruby on MacOS
To run Ruby on your macOS computer, follow these steps:
- Install Visual Studio Code
- Check or Install
- Verify Your Installation
Step 1: Install Visual Studio Code
First, you need a good code editor to write Ruby programs, and we recommend Visual Studio Code (VS Code):
- Go to the VS Code official website.
- Download the macOS installer.
- Open the downloaded .dmg file.
- Drag VS Code into your Applications folder.
- Launch VS Code to start coding.
Step 2: Check or Install Ruby
macOS comes with Ruby pre-installed. You can check the version by opening the Terminal and typing:
ruby -vIf you see a version number, Ruby is already installed. However, this version may be outdated.
To install the latest version, use Homebrew, a package manager for macOS.
First, install Homebrew if you don’t have it already. In Terminal, run:
/bin/bash -c "$(curl -fsSL https://raw.githubusercontent.com/Homebrew/install/HEAD/install.sh)"After Homebrew installs, install Ruby by running:
brew install rubyStep 3: Verify Your Installation
Once Ruby is installed or confirmed, check the version to ensure it's set up correctly:
ruby -vYou should see the version of Ruby installed.
Install Ruby on Linux
To run Ruby on your Ubuntu Linux system, follow these steps:
- Install Visual Studio Code
- Install Ruby
- Verify Your Installation
Step 1: Install Visual Studio Code
To write Ruby programs, it’s helpful to use a code editor like Visual Studio Code:
- Open your Terminal.
- Download and install VS Code by running these commands:
sudo apt update
sudo apt install software-properties-common apt-transport-https wget
wget -q https://packages.microsoft.com/keys/microsoft.asc -O- | sudo apt-key add -
sudo add-apt-repository "deb [arch=amd64] https://packages.microsoft.com/repos/vscode stable main"
sudo apt update
sudo apt install code- Once installed, you can launch VS Code by typing code in Terminal or from your applications menu.
Step 2: Install Ruby
Ruby is not installed by default on most Linux distributions. To install Ruby on Ubuntu, open Terminal and run:
sudo apt update
sudo apt install ruby-full
This installs the full Ruby environment.
Step 3: Verify Your Installation
After installation, check that Ruby is installed correctly by typing:
ruby -vRun Your Ruby Code
Running your code is simple once Ruby is installed on your system. Just follow these steps:
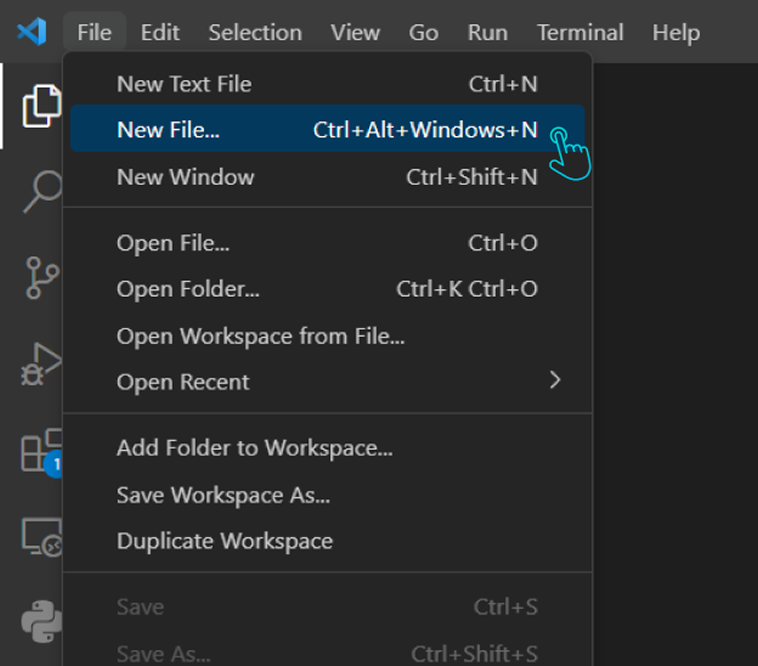
1. Open VS Code
First, open Visual Studio Code. Click on File in the top menu and then select New File.
2. Save the File
Next, save the file with a .rb extension. Click on File, then Save As, and save the file as hello_world.rb.
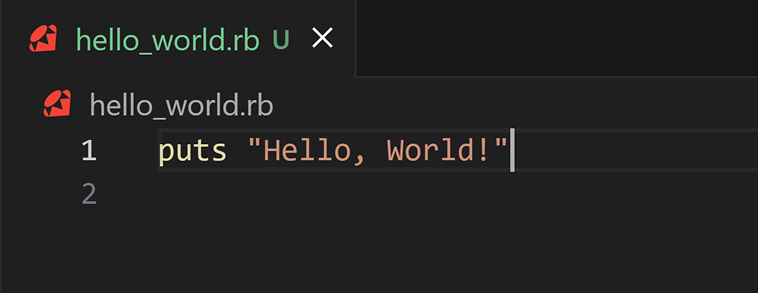
3. Write Your Code
Now, write the following code in your hello_world.rb file:
4. Run the Ruby File
To run your code, open the VS Code terminal by selecting Terminal > New Terminal from the top menu. Then, run the following command:
ruby hello_world.rb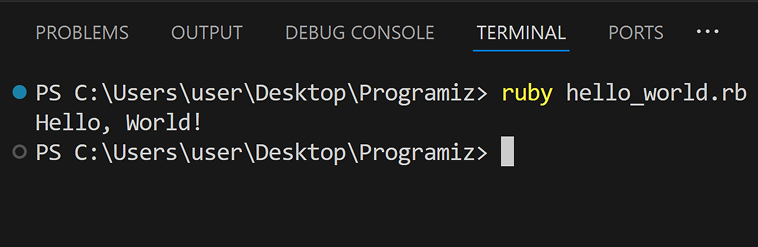
Now that you've set up Ruby on your computer, you’re ready to write your first Ruby program.
Subscribe to Programiz Blog!
Be the first to receive the latest tutorial from Programiz by signing up to our email subscription. Also more bonus like inside looks on the latest feature and many more.